Schokoaufleger und Schokoladengitter
Von Claudia am Okt 30, 2008 | In Süßes, Kuchen & Kekse, In English, Tipps & Tricks, Nachtisch | 9 Feedbacks »

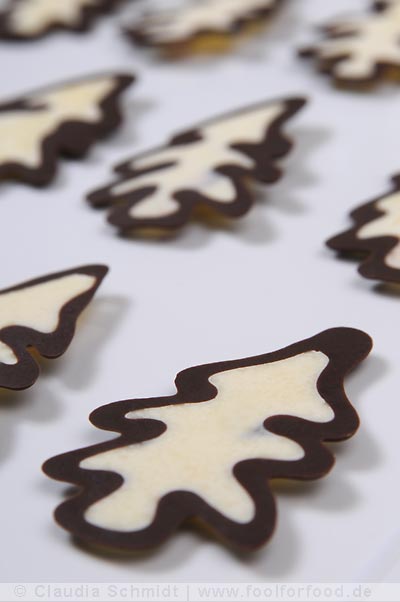
When I saw what Astrid from La Cerise created for her daughter's birthday I was really fascinated. Not having a birthday cake to bake right then, I decided to try my own version of a versatile chocolate decoration. Chocolate is a perfect decoration for me because I don't like all this fondant and royal icing stuff.
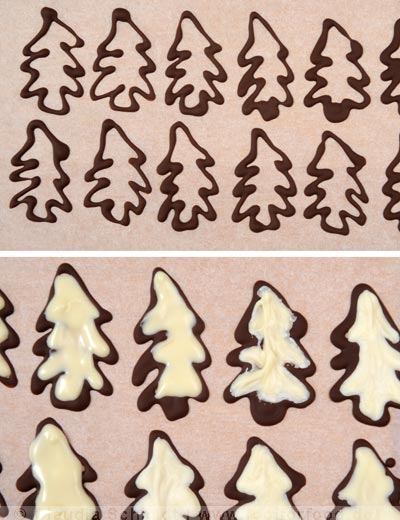
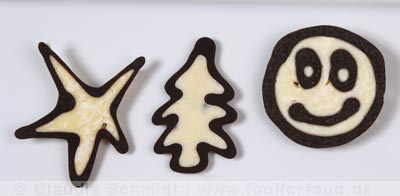
The method is really simple: Just take a drawing of your choice and place it under transparent baking paper. Melt chocolate in a freezer bag and cut a very little hole to draw thin chocolate lines. Trace the lines of your drawing. Once the outer line hardened you can fill the spaces with another kind (colour) of chocolate.

It's really easy if you start with small chocolate decoration such a the small christmas tree. After the drawing is complete, place it in the fridge. The transfer the decorations (upside down) to a cake or a dessert you want to decorate with it.
If you don't believe in your artistic abilities you can simply choose drawings from any window color book and take photocopies of them - or scan the page and print it. Be sure to start with simple drawings without too many details - they might get lost when drawing with chocolate as it will not be as acurate as a normal drawing.

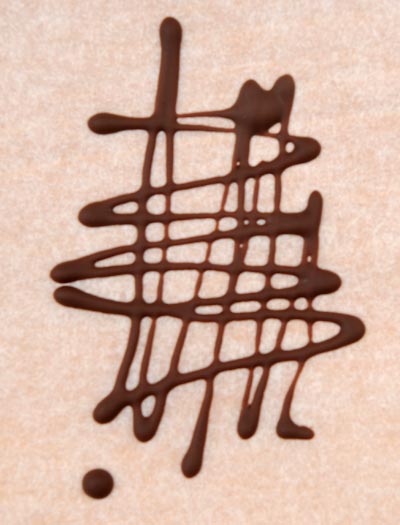
Even if you are not in to drawing at all: Try "painting" little grids: They make nice and noble chocolate decorations.
You might want to write with chocolate (names, wishes, etc.). Then be sure to write backwards as you will have to turn the decoration upside down.

I had best results with really good chocolate. I melt chocolate regularily for various purposes and found out that high quality chocolate melts ways better than cheap chocolate. And of course good chocolate tastes better. You wouldn't like to ruin your lovely cake with bad chocolate, would you?
Pages: 1· 2
9 Kommentare
Boah, du bist ja eine richtige Künstlerin! Sieht toll aus...aber ob ich mich da jemals dran wage? Meist fehlt mir da die Geduld für :-)
Wonderful! I'm so glad to read your post and see how well it worked for you. The Christmas trees are adorable! You are more brave than I am in trying to make these with tempered or almost tempered chocolate. I cheat by keeping mine in the fridge...
schaut einfach aus, wird aber nicht einfach sein. hab irgendwie kein gutes händchen für schoko im spritzbeutel. und das mit der weißen milka-schoko hätte ich dir auch sagen können... ich kann mich da mal an ein desaster erinnen hahahha. ich bewundere echt deine geduld und dein können!!! lg
Die Bäumchen sehen toll aus - und um Klassen besser als die Schokoaufleger, die ich heute im Supermarkt dann doch nicht gekauft habe. Zum Glück, denn nach dem Anblick deiner Kunstwerke hätt ich mich doppelt über die industrielle Stümperei geärgert. :-)
wenn man die Teilchen, unmittelbar nach dem Spritzen auf eine kalte Glasplatte im Kühlschrank stellt, gibts weniger Grauschleier, auch wenn nicht sauber temperiert wurde. Ist aber unpraktisch, das viele Kühlschrankaufreissen mit Schokohänden.
Tolle Idee. Morgen wollte ich eh die Cupcakes backen. Da werde ich mich gleich mal an die Deko machen, dann ist es morgen nicht so hektisch.
Lovely shapes!!!! Thank you for sharing and for inspiration.
Hallo!
Kleiner Klugscheisser-Kommentar von einer Hobby-Pralinenmacherin: Es gibt den Unterschied zwischen Kuvertüre und Schokolade nur bei den Sorten (Zart-)Bitter und Vollmilch. Weiße ist immer Schokolade.
Wow! Das ist wirklich eine tolle Idee! Da wäre ich ja nie drauf gekommen! Ich glaube, das muss ich bald auch mal versuchen, obwohl ich eigentlich nicht so der Feinmotoriker bin :-)
| « Halloween-Schablonen | Rezept für Schokoladen-Cupcakes » |


